在我们使用Clash节点的时候,有时候觉得自己的节点网速跑不满,速度不够快。这时候,我们可以尝试着使用负载均衡,来让节点的网速拉满。在这期教程中,我来和大家一起来为Clash节点配置负载均衡。
准备材料
- Clash 节点配置
- 基于原版 Clash、Clash Premium 或 Clash Meta 的客户端
部署步骤
CFW Parsers
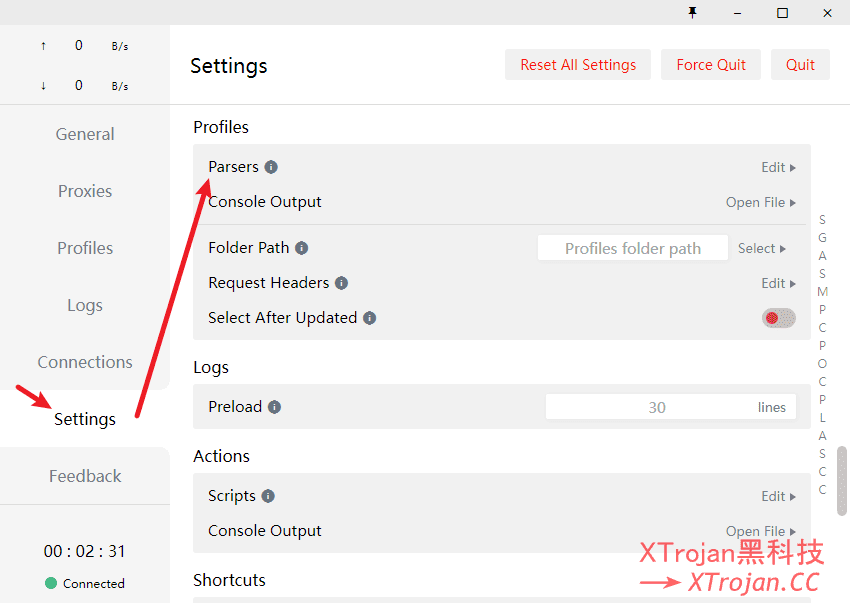
1、打开 Clash For Windows,转到“Settings”→“Profiles”。点击“Parsers”右边的“Edit”按钮
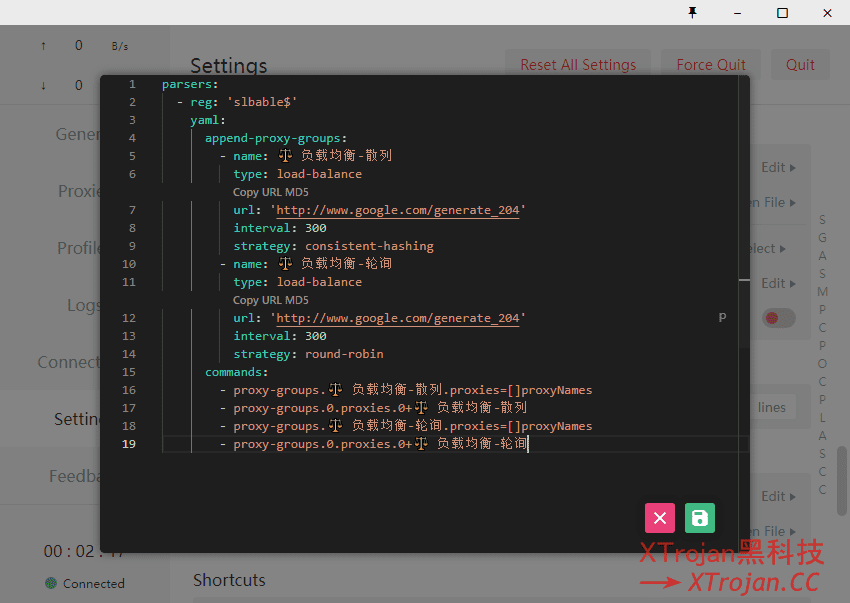
2、在内置编辑器中,粘贴以下内容并保存
parsers:
  - reg: 'slbable$'
    yaml:
      append-proxy-groups:
        - name: 负载均衡-散列
          type: load-balance
          url: 'http://www.google.com/generate_204'
          interval: 300
          strategy: consistent-hashing
        - name: 负载均衡-轮询
          type: load-balance
          url: 'http://www.google.com/generate_204'
          interval: 300
          strategy: round-robin
      commands:
        - proxy-groups.负载均衡-散列.proxies=[]proxyNames
        - proxy-groups.0.proxies.0+负载均衡-散列
        - proxy-groups.负载均衡-轮询.proxies=[]proxyNames
        - proxy-groups.0.proxies.0+负载均衡-轮询
3、为了防止正常订阅被污染,请自行修改订阅地址,在其后面加上#slbable即可使用负载均衡
手动配置
1、使用VS Code或其他编辑器,打开Clash的节点配置文件。
2、将以下内容,添加到第一个策略组
负载均衡-轮询
负载均衡-散列
3、在现有代理组的后面,添加代理策略组。
- name: 负载均衡-散列
  type: load-balance
  url: http://www.google.com/generate_204
  interval: 300
  strategy: consistent-hashing
  proxies:
    - P1
    - P2
    - P3
- name: 负载均衡-轮询
  type: load-balance
  url: http://www.google.com/generate_204
  interval: 300
  strategy: round-robin
  proxies:
    - P1
    - P2
    - P3
请将实际的P1、P2、P3替换成自己的节点名称
4、在基于Clash内核的客户端中,导入节点配置文件